
Hello
there!
How
have you been doing? I’m pretty excited today because tonight I’m
going to a wonderful Japanese restaurant with my brother and his
friends which are also mines and well, who doesn’t love sushi?
Today
I’m coming with a short tutorial that hopefully in the future I’ll
have a video from it but I hope you can understand it and give it a
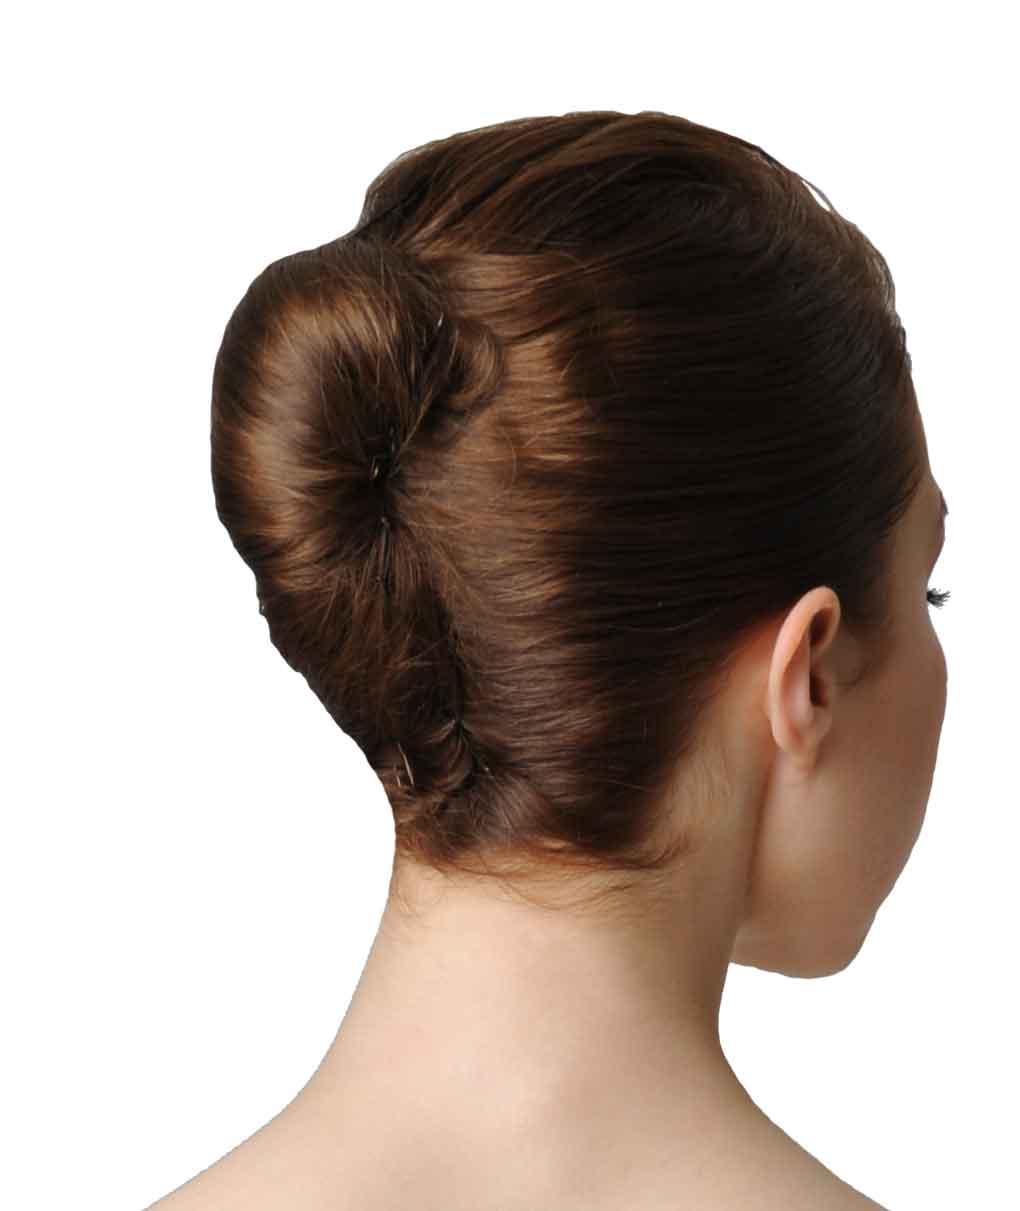
try! It’s the french roll bun.
This
year I’ve had to do lots of them for the school performances and
last year it was the hairstyle I liked the most for class, so
although it can always improve I would say that I more or less have
quite good practice in making this hairstyle.
My only
advice would be to not wash your hair with conditioner if you’re
doing this bun for performance and get it very wet so everything
stays in place and you don’t have to use that much hairspray. I
didn’t do it today because I liked the more relaxed style for a
normal class but I really like a clean looking bun for performances
or exams. Also this hairstyle makes you look a bit taller and
sophisticated so it can be a good hairstyle for auditions as well.
Now,
let’s get into the tutorial!
You’ll
need:
- A
brush (I use two different ones but it’s not 100% necessary
-A comb
-Bobby
pins (big ones and smaller ones because depending on where you pin
the big ones mught hurt or stick through the other side of the bun)
-Flat
bobby pins
-Hairspray
(optional)

First
of all, you should always brush your hair to get all the knots out as
it will make it easier to handle your hair afterwards. Then mark the
part wherever you want. I like the side one but middle part is also
really beautiful.

Once
you have that, brush your hair into a high pony tail, but not too
high like a palm tree pony tail.

Now,
here comes the tough part. Get one of your hand holding the pony tail
and the other one must be above it with two fingers laying on that
pony tail.

Once
you have that, get the pony tail above this two fingers making a loop
around them.

Then,
use this two fingers to grab the section of hair that looped around
it and pull it to the side making a tight kind of knot. It should
feel tight and pretty secure and a small bun should form on the top.

Once
you have that, start pinning on the side and help yourself with a
comb to make the hair face exactly the same direction and get a more
or less clean look.

Tuck in
the end of the hair and pin it as well. You’ll have a mini bun on
the top that you should also pin.

Get
some flat bobby pins on the sides to take away any baby hairs that
might’ve got lost.

Spray
it a bit if you want to or you feel you need to have it a bit more
secure and that’s it!

It
sound much worse than what it actually is. I know photographs are not
the best option but I hope that soon enough I can get a video done.

Do you
like this hairstyle? Give it a try and tell me your thoughts.
I wish
you all have a lovely day and I’ll see you tomorrow!
Love,
Muriel


0 Comments